So you have set up your Raspberry Pi as a home server and everything works as intended. But what if the SD card fails and all the data you stored on your Raspberry Pi is suddenly lost forever?
All storage devices containing important data need to be backed up on a regular basis. And this is even more true for SD cards than for most other storage media. Because unlike hard drives and SSDs, SD cards are not really made for installing operating systems on them and they are also not designed for being powered on 24/7. Therefore, SD cards have a comparatively high risk of failing.
One thing is for sure: Your new Raspberry Pi needs a backup solution!
Wouldn’t it be nice if you just had a little Python script on your Linux PC that whenever executed logged on the Raspberry Pi via SSH, fetched all your data, and put it into a new timestamped subdirectory?
This is actually much easier than you might think. So let’s dive into this problem!
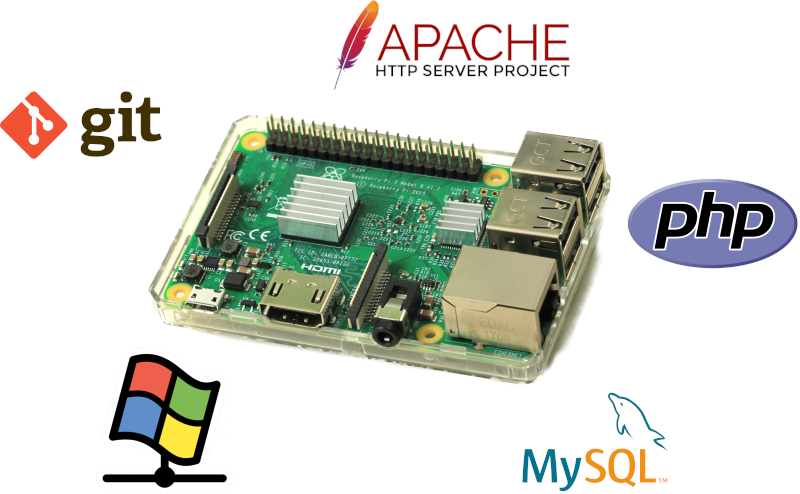
Example Services
But first, we will have a look at the services that run on our example Raspberry Pi:
- Git repositories served via ssh located in
/git - Samba serving the directory
/shareas a network share - Apache with PHP for serving web apps like a Wiki or doing some light web development (web root located in
/var/www/html) - MySQL Server as a backend for web apps and/or for web development
We have two types of data that need to be backed up here. The first three services store their data in simple directories with files. To back them up we can just archive them with tar. MySQL on the other hand is a bit more problematic. We can’t just backup MySQLs data directory because this might lead to an inconsistent backup. The safest way to back up MySQL is by using the tool mysqldump to create an SQL dump of all databases.
SSH Key Setup
Before we can take care of the backup script we must make sure that our Linux PC can access the Raspberry Pi via ssh without entering a password.
To do this you need to open the file ~/.ssh/id_rsa.pub on your Linux PC and copy the text you find in there. If the file doesn’t exist you have to run the command ssh-keygen and answer all questions with enter to create a new ssh key-pair before you can copy the public key.
Then you log in to your Raspberry Pi, open the file ~/.ssh/authorized_keys (it is quite likely that it doesn’t exist so you have to create it), and paste the public key there. Save the file and from now on you should be able to connect to your Raspberry Pi via ssh without entering a password.
The Backup Script
Now we are ready to create the backup script on the Linux PC and call it pibackup.py:
#!/usr/bin/env python3

import datetime
import os
import os.path
import sys

BACKUP_DIRS = ['/share', '/git', '/var/www/html']
USER_HOST = 'pi@intranet'

backupdir = 'backup_' + str(datetime.datetime.now()).replace(" ", "_")

print("Creating backup dir: " + backupdir)
os.mkdir(backupdir)
os.chdir(backupdir)

print("Creating backup of directories: %s..." % (' '.join(BACKUP_DIRS)))
res = os.system("ssh %s 'tar --to-stdout -cz %s' > files.tar.gz" %
        (USER_HOST, ' '.join(BACKUP_DIRS)))

if res != 0:
    print("Failed to backup files", file=sys.stderr)
    sys.exit(1)

print("Creating MySQL backup... ")
os.system("ssh %s 'mysqldump --all-databases | gzip -c' > mysql.sql.gz" %
        (USER_HOST))

if res != 0:
    print("Failed to backup MySQL data", file=sys.stderr)
    sys.exit(1)
First, we define a variable named BACKUP_DIRS which is a list of all directories we want to backup, as well as a variable USER_HOST, which contains the username and the hostname we need to connect to the Raspberry Pi. You probably want to adapt those values to your own environment.
The script then generates a directory name containing the current timestamp and it uses this directory name to create a new subdirectory where it will store the backup.
Now we are ready to do the actual backup.
First we backup all the files. We achieve this by using os.system() to start a ssh subprocess. This ssh command is given the list of all the directories we want to backup and is told to compress them with gzip by the z flag.
Normally the tar command would create an archive on the Raspberry Pi. This wouldn’t be a very good idea because then we would still need to transfer the tar file back to our Linux PC. And the even bigger problem is that we would need lots of extra space on the Raspberry Pi which means that our Raspberry Pi would eventually run out of disk space during the backup when the compressed tar file fills all of the remaining free space on the SD card.
Therefore we tell tar to write its output not to a file but to write it to stdout by passing it the --to-stdout flag. Since we execute the tar command via ssh the output is transferred over the ssh connection and “printed” to stdout on the Linux PC instead of the Raspberry Pi. We then use the > command to redirect this output to the file files.tar.gz.
In simpler terms, this means that we call tar on the Raspberry Pi via ssh and write the output file directly to files.tar.gz on the Linux PC.
We use the same trick to do the MySQL backup. But instead of tar we call mysqldump and we tell it to dump all databases. This command writes an SQL dump of all the tables and data stored in MySQL to stdout. We then pipe this output through gzip on the Raspberry Pi and tell it to write the compressed data also to stdout. As before this output will end up on stdout on the Linux PC where we redirect it to mysql.sql.gz with the help of the > command.
Output
Whenever we call the script it will create a new timestamped subdirectory containing two compressed tar files. Given that we put the backup script in a directory named pibackup in our home directory the directory structure would look something like this:
~/pibackup
├── backup_2023-03-28_22:18:51.231927
|   ├── files.tar.gz
│   └── mysql.sql.tar.gz
└── backup_2023-04-29_17:24:36.453654
    ├── files.tar.gz
    └── mysql.sql.tar.gz
Backup /etc with sudo
Now we have a backup of our data. But what about our configuration? If you want to be able to restore that machine quickly it is best to backup the whole /etc directory. Unfortunately, there are many files in /etc that we can’t backup because only root has access. How can we fix this?
The easiest way is to add /etc to the list of backup directories, query the user for the password of the Raspberry Pi user (it must be in the sudoers group, of course), and use sudo on the Raspberry Pi to execute tar with root privileges:
...
BACKUP_DIRS = ['/etc', '/share', '/git', '/var/www/html']
USER_HOST = 'pi@intranet'

password = getpass.getpass(prompt=f"Password for {USER_HOST}: ")
...
os.system("echo '%s' | ssh %s 'sudo -S tar --to-stdout -cz %s' > files.tar.gz" %
        (password, USER_HOST, ' '.join(BACKUP_DIRS)))
...
The most interesting things happen in the os.system command. First, we echo the password – which is needed by sudo on the Raspberry Pi – and pipe it into the ssh command. The tar command, which is run by ssh is now executed with sudo to get the necessary privileges on the Raspberry Pi. We also use the -S flag to tell sudo to read its password from stdin. This way it will get our password without showing a prompt (which wouldn’t work because there is no terminal).
Our full script now looks like this:
#!/usr/bin/env python3

import datetime
import getpass
import os
import os.path
import sys

BACKUP_DIRS = ['/etc', '/share', '/git', '/var/www/html']
USER_HOST = 'pi@intranet'

password = getpass.getpass(prompt=f"Password for {USER_HOST}: ")

backupdir = 'backup_' + str(datetime.datetime.now()).replace(" ", "_")

print("Creating backup dir: " + backupdir)
os.mkdir(backupdir)
os.chdir(backupdir)

print("Creating backup of directories: %s..." % (' '.join(BACKUP_DIRS)))
res = os.system("echo '%s' | ssh %s 'sudo -S tar --to-stdout -cz %s' > files.tar.gz" %
        (password, USER_HOST, ' '.join(BACKUP_DIRS)))

if res != 0:
    print("Failed to backup files", file=sys.stderr)
    sys.exit(1)

print("Creating MySQL backup... ")
res = os.system("ssh %s 'mysqldump --all-databases | gzip -c' > mysql.sql.gz" %
        (USER_HOST))

if res != 0:
    print("Failed to backup MySQL data", file=sys.stderr)
    sys.exit(1)
Conclusion
As you have seen backing up your Raspberry Pi is easier than one might think at first. The approach shown here can be further improved by running the backup script with a cron job instead of running it manually. But this requires that your Linux PC is running all the time, of course.
Hopefully, this article inspired you to reevaluate and improve your own backup strategy.
Feel free to adapt the script shown in this article to your own needs.

Pingback: 全面备份树莓派,无忧稳妥 - 偏执的码农